
 English
 Español
 中文简体
News
Home / News / Industry News / Bathroom Mirror Light: How to Specify, Size and Install the Right Fixture
A 900 mm vanity lit only by a ceiling downlight usually delivers around 100–150 lux on the face, with the eyes in shadow and the mirror reflecting the top of your head. Move the light to the mirror itself — 300 lux or more, CRI 90, 3000–4000 K, IP44 — and the same bathroom suddenly works for shaving, contact lenses and makeup. That is the short answer: put the light where the face is, then choose a fixture that survives the humidity. What follows explains the numbers behind that recommendation, how front-lit and back-lit builds differ, and which details are worth writing into a purchase order.
Three specifications separate a mirror light people keep using from one they stop switching on: illuminance at the face, colour rendering, and ingress protection. The lumen figure on the box tells you very little by itself, because a 1,200 lm fixture with a narrow beam aimed upward and a 600 lm fixture with a wide diffuser 400 mm from the glass can produce the same reading on your cheek.
Planning targets for light on the face at the basin
Illuminance is measured where the user stands, not where the LED sits. Below roughly 200 lux the jawline and nostrils fall into shadow, which is exactly the area people complain about. Beam shape matters as much as output: an opal diffuser spread across the mirror width beats a bright cluster in the centre every time.
Colour rendering is the number buyers overlook. CRI 90 or better, with R9 above 50, keeps skin tones and makeup shades believable; a CRI 80 fixture at the same lux makes a red lipstick look brown. Settle colour temperature once for the whole room — 3000 K reads warm and hotel-like, 4000 K is neutral and clinical — because mixing the two in one bathroom looks dirty rather than layered.
Ingress protection decides how long the fixture lasts. IP44 is the sensible minimum in the splash zone beside a basin; IP65 is worth the extra cost where a shower head can spray the mirror directly. Cable entries should be sealed with a gland rather than silicone.
The choice comes down to purpose. Front lighting puts usable light on the face and is the only option that reliably works for shaving and makeup. Back lighting spills a soft halo onto the wall, flatters the room and hides the fixture, but contributes little to the task. If the budget allows one fixture only, choose front lighting; if the mirror is a design feature in a hotel bathroom, twin lighting gives both.
| Configuration | Where the light goes | Strength | Limitation |
|---|---|---|---|
| Front-lit | Diffused strip on the mirror face or above it | Even task light on the face | Visible glare if the diffuser is not frosted |
| Back-lit | LED modules behind the glass, aimed at the wall | Low glare, floating mirror effect | Weak task light; needs 60–100 mm clearance |
| Twin | Both circuits, switched separately | Atmosphere plus task light | Higher cost, greater depth, more wiring |
Depth is the usual surprise. A back-lit mirror needs 60–100 mm of clearance from the wall to let the halo escape, which affects how far the mirror projects over the basin and how the tile edge is finished. Front-lit bars and wall brackets need only 40–80 mm, but must sit so the diffuser is not directly in the eyeline.
A back-lit panel with a separate front-facing strip covers both jobs and lets the circuits be switched independently. A model such as the DK2512 backlit dimmable mirror light with defogger is a typical example of that arrangement: halo for atmosphere, front strip for the task.
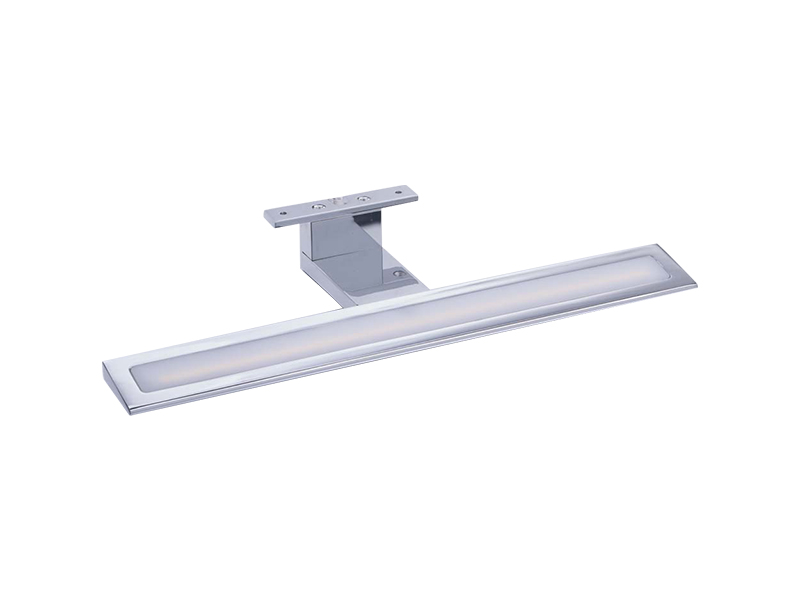 DK2512 Backlit Dimmable LED Mirror Light with DefoggerBacklit, dimmable mirror light with defogger; consider switch configuration if halo and front task lighting need independent control.View Product →
Check the switch logic before ordering. One switch for both circuits is cheaper but forces the halo on every time the task light is needed; two switches, or a touch pad with long-press dimming, give the flexibility most end users expect.
Fogging is physics rather than a coating problem. A mirror fogs when its surface temperature drops below the dew point of the room air, which happens within seconds of a hot shower. Two approaches beat it: warm the glass with a heating pad of roughly 15–30 W, or move the air. Heating pads take 5–10 minutes to clear a full mirror and draw power while switched on; anti-fog films work faster but degrade with repeated cleaning.
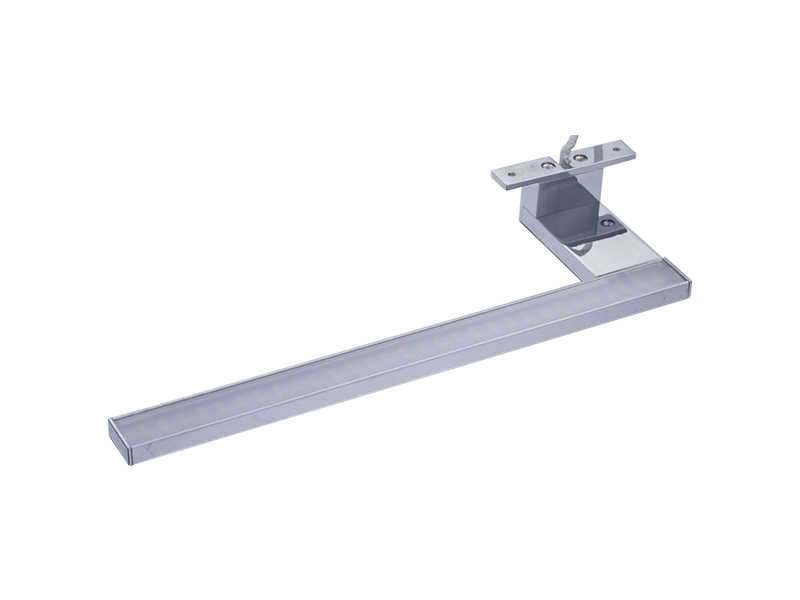 DK2511 Anti-Fog Bathroom LED Mirror LightAnti-fog bathroom mirror light; review heating power, warm-up time and moisture-resistant fixings when specifying for humid bathrooms.View Product →
Corrosion is the slower failure. At 80% relative humidity, untreated screws and zinc-plated brackets rust long before the LED reaches the end of its rated life, and the stain runs down the tile. Specify stainless or plated fixings, keep the driver in a dry zone or an IP65 enclosure, and confirm the mirror backing is sealed at the edges. The anti-fog principle behind heated pads and films is worth reading before you specify one, because heating power and warm-up time are quoted inconsistently between suppliers.
As a proportion, the light should span at least 60% of the mirror width, and 70–80% looks balanced. A 900 mm mirror therefore needs a fixture of 550 mm or more, while a 1,200 mm double-basin mirror is better served by two 600 mm fittings than one long bar, because the light lands closer to each face. For height, allow 150–250 mm above the mirror top for a top-mounted bar, and 1.65–1.75 m above finished floor for side sconces set 150–200 mm out from the mirror edge.
Settle the mounting route before the tiles go up. Retrofitting a recessed driver or a new cable drop behind finished porcelain costs more than the fixture itself.
Touch sensors on the mirror edge are the default in mid-range and premium ranges because they are sealed, easy to wipe and free of moving parts. Infrared motion sensors add convenience in a family bathroom — the light comes on as someone reaches the basin — but need a clear line of sight and should not sit behind a frame or under a shelf that blocks the beam. A capacitive touch pad with dimming memory is the most robust compromise; a wall switch outside the room remains the most reliable of all.
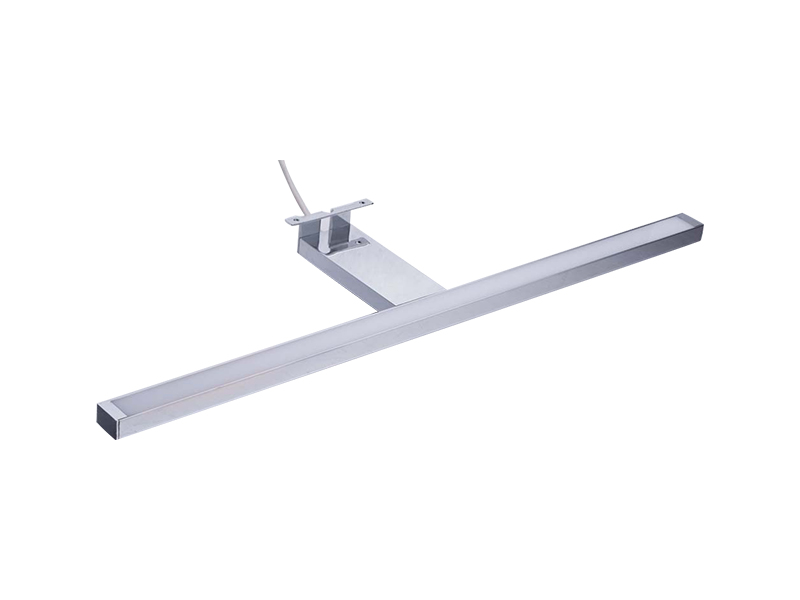 DK-1140 LED Sensor Mirror LightSensor mirror light for bathroom use; consider sensor placement and dimmer compatibility if pairing motion activation with wall dimming.View Product →
If a wall dimmer is used, check compatibility: trailing-edge dimmers suit most LED drivers, while leading-edge dimmers often cause flicker or buzzing at low output. Ask for a quoted dimming range of 10–100% and test it on the actual dimmer before the batch ships.
Most mirror light failures in the field are installation failures, not LED failures. The pattern repeats: a driver buried behind sealed tiles, a 12 V joint made with a twist connector, or a metal housing earthed through a bracket screw.
Zonal rules vary by market, but the practical outcome is similar: the fitting must be rated for the zone it sits in, and the switch must sit outside zone 1. Confirm that classification with the electrician before ordering, not after.
Halogen mirror lights are still made, and for fair reasons: they dim smoothly to a warm amber, cost little up front and work with simple transformers. The trade-offs are measurable. A 40 W halogen capsule delivers roughly 20–35 lm/W and about 2,000 hours of life, with a glass surface hot enough to burn a finger. An equivalent LED reaches 90–120 lm/W and 25,000–50,000 hours and runs cool enough to touch — but its weak point is the driver, where electrolytic capacitors typically set a 5–10 year life in a humid room.
For a renovation with existing wiring and a warm-light preference, halogen stays defensible. For new builds, hotels and anything with an energy target, LED wins on running cost: a 10 W LED replacing a 40 W halogen saves about 30 W per hour of use, roughly 11 kWh a year per fixture at one hour a day. Modest for one mirror, meaningful across 200 rooms.
Most disputes at goods-in come from specifications that were never written down. The items below are the ones worth locking into a purchase order before samples are approved.
| Spec item | What to write on the PO | Why it matters |
|---|---|---|
| Output | Lux at 400 mm from the glass, plus total lumens | Lumen alone does not predict task light |
| Colour | CRI 90+, R9 50+, CCT with tolerance | Skin tone and makeup accuracy |
| Sealing | IP44 or IP65, glanded cable entry | Service life in a wet room |
| Driver | Brand, warranty term, accessible location | First component to fail |
| Controls | Touch, sensor or switch; dimming range 10–100% | Flicker and compatibility complaints |
| Fixings | Stainless or plated, weight rating, cable length | Corrosion and installation speed |
| Compliance | Certification list and test report reference | Customs clearance and liability |
| Packaging | Drop-test standard, mirror corner protection | Transit breakage claims |
Two commercial points are worth settling at the same time: whether the driver carries its own warranty and who replaces it, and whether the factory can supply the same fixture as both a plug-in and a hardwired variant for different markets. Finish, cable length and sensor type are normally customisable on volume orders, and asking early avoids a second tooling round — the kind of support an established mirror light manufacturer should be able to confirm in writing.
The fixture is rarely the difficult part; the specification is. Decide task illuminance, colour rendering and IP rating first, then let mounting type, controls and finish follow. A bathroom mirror light chosen in that order survives steam, cleaning chemicals and a decade of daily use — and it keeps the light where the person actually stands.
top

E-mail:[email protected]

Telphone:+86-574-88073028

FAX:+86-574-88073029
QR code on
mobile phone